This tutorial is a continuation of the tutorial “First Development Steps”. The tutorial shows how to set up a workplace and how to embed your pages into this workplace.
Create a “just normal” CaptainCasa project. You may create a “simple project” or a Maven or a Gradle based project. Check that the project is compiled, built and deployed - just as you do it with normal projects.
For the example we use the project “workplaceTutorial” which we created as Maven project.
The layout of the workplace and the arrangement of functions within a function tree is either kept as an XML definition or is passed by Java API.In the tutorial we start with an XML definition.
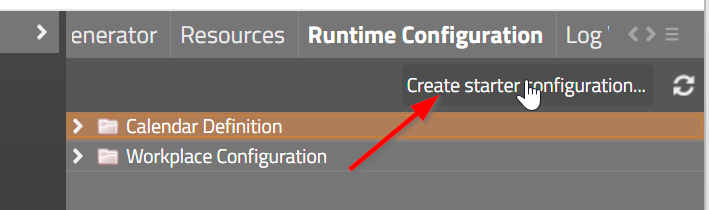
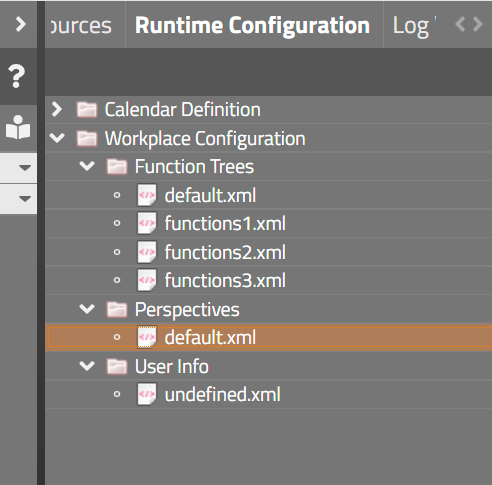
There is a “Starter Configuration” which is not part of Maven and Gradle projects. The starter definition can be easily created: open the CaptainCasa tools, select “Runtime Configuration” in the tool section on the right:
After pressing the button “Create starter configuration....” the configuration contains some definitions:
The meaning of the files will be explained in the following sections.
There are two main pages that are typically required:
The workplace page itself
The function tree page
Both are crated by the usage of templates.
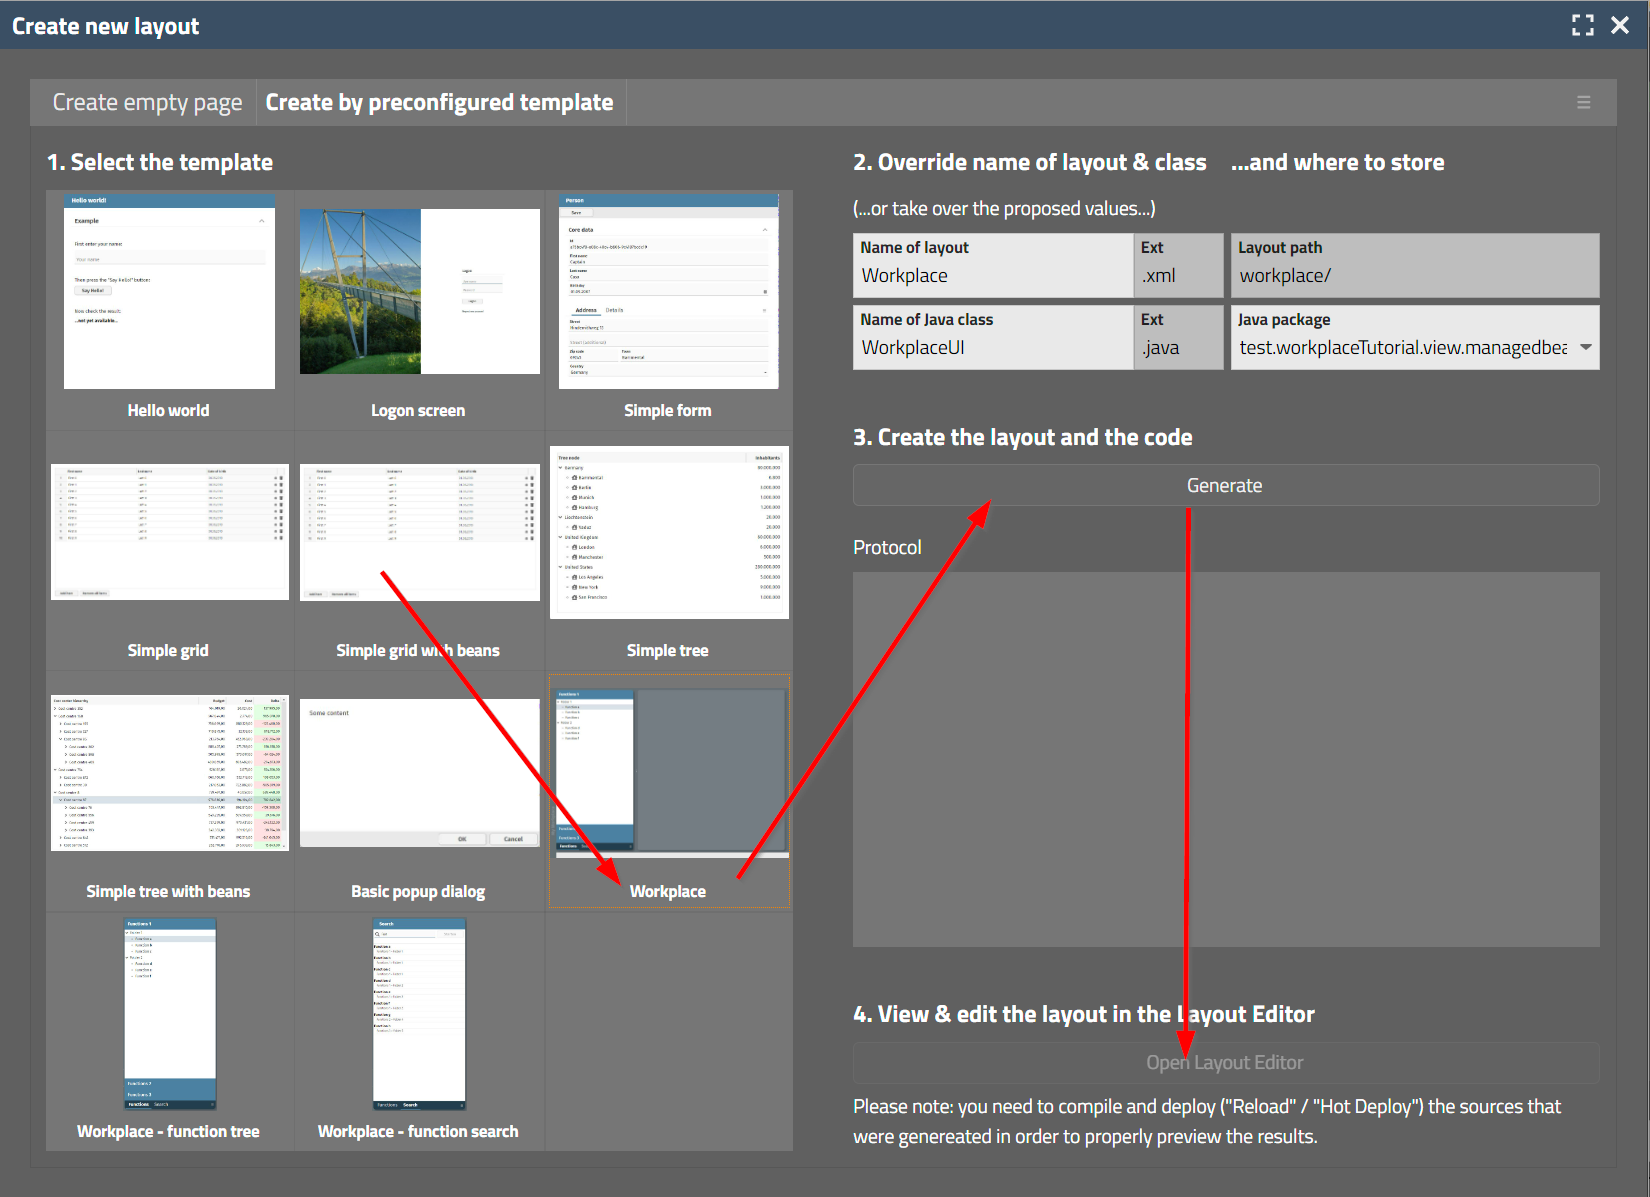
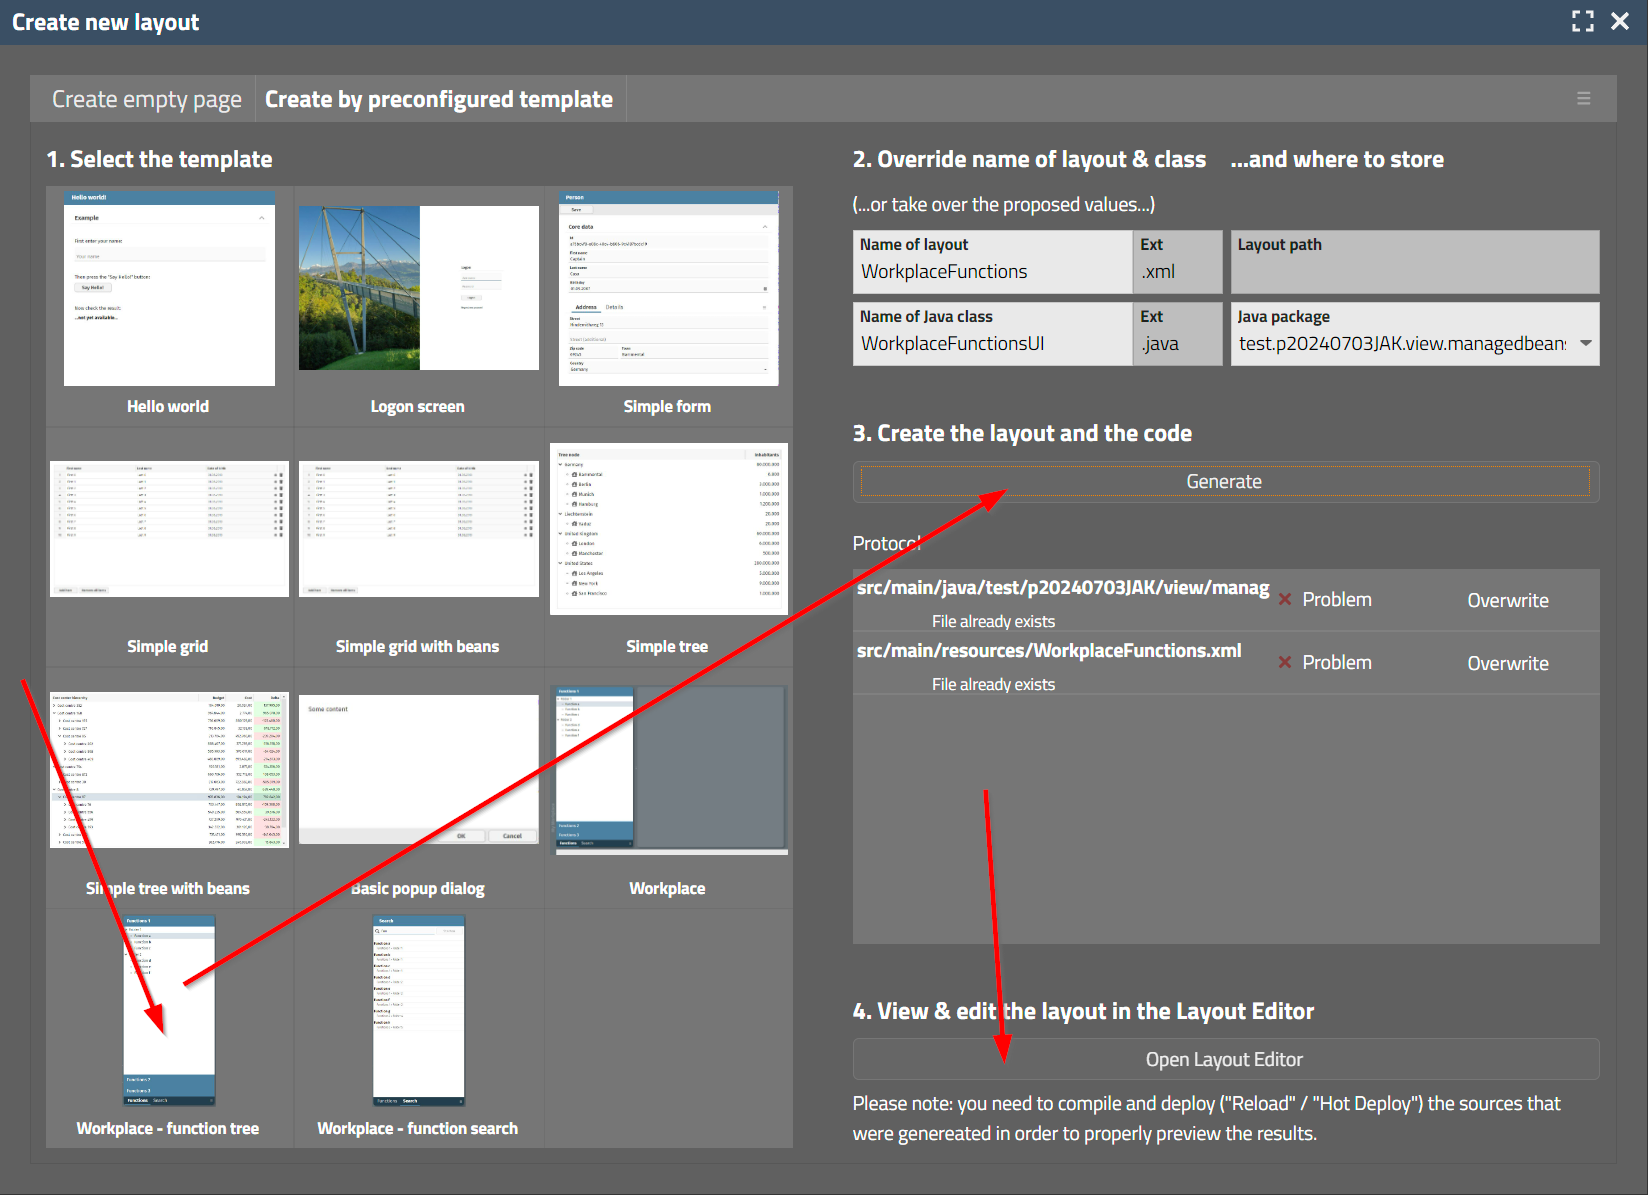
Create a new layout. In the dialog that shows up select “Create by preconfigured template”:
Proceed as follows:
Select “Workplace”
You may update the name of the page,the name of the associated page bean and the package for placing the bean.
Press “Generate”.
Press “Open Layout Editor”
Compile the newly created class within your IDE.
Deploy.
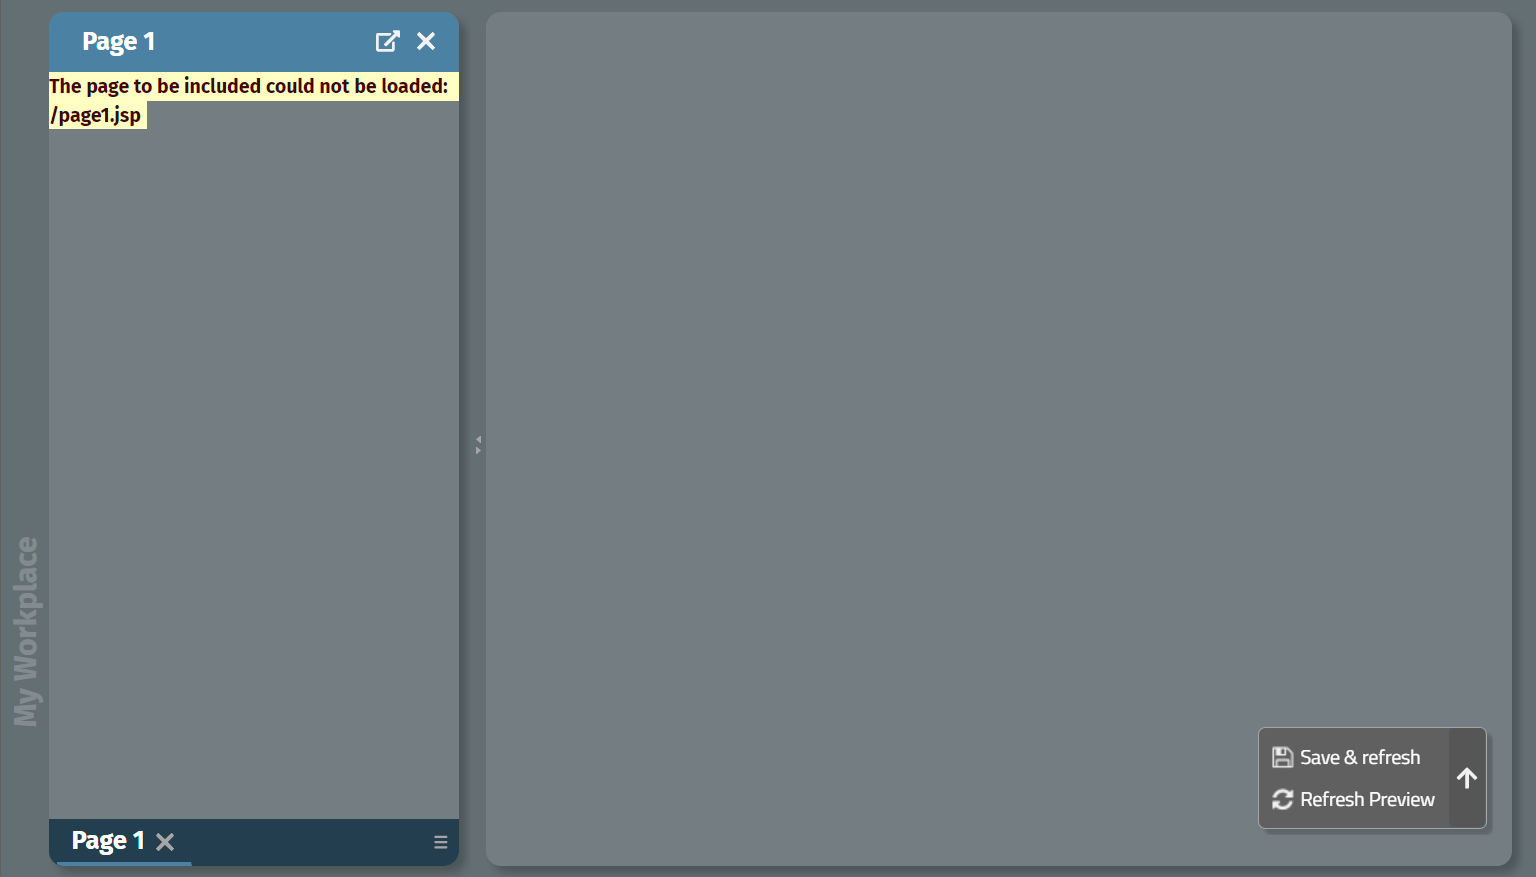
You will see the following in the preview of the Layout Editor:
The workplace page is configured by the file “Workplace Cofiguration/Perspectives/default.xml” within the section “Runtime configuration”:
You can either edit the file by double clicking it within the Runtime Configuration - then an XML editor will show up. Or you may edit the file directly within your project in “source/main/webapp/eclntjsfserver/config/ccworkplace/perspectives/default.xml”.
<?xml version="1.0" encoding="UTF-8" standalone="yes"?>
<workplaceTileInfo xmlns:xsi="http://www.w3.org/2001/XMLSchema-instance" xsi:noNamespaceSchemaLocation="http://www.CaptainCasa.com/xsd/WorkplaceTileInfo.xsd">
<text>Demo Workplace</text>
<split>
<orientation>horizontal</orientation>
<dividerLocation>250</dividerLocation>
<subContainer1>
<id>FUNCTIONS</id>
</subContainer1>
<subContainer2/>
</split>
<startViews>
<jspPage>/page1.jsp</jspPage>
<id>page1</id>
<text>Page 1</text>
<decorated>true</decorated>
<closeSupported>true</closeSupported>
<popupSupported>true</popupSupported>
<openMultipleInstances>false</openMultipleInstances>
<startSubWorkpageContainerId>FUNCTIONS</startSubWorkpageContainerId>
</startViews>
</workplaceTileInfo>
The file contains two aspects:
The layout of the workplace itself. You see from the example that the whole workplace is separated into two horizontally split areas: the left with id “FUNCTIONS”, the right with no specific id (which means: this is the default area to start dialogs in).
The list of dialogs that is started within the workplace. In the example there is one dialog “/page1.jsp” started in the “FUNCTIONS” area. You may either reference a dialog by its page name (.jsp/.xml) or by its page bean name (attribute “pageBeanName”).
Create layout and Java code in the same way as with the workplace page, but now use the template “Workplace - function tree”:
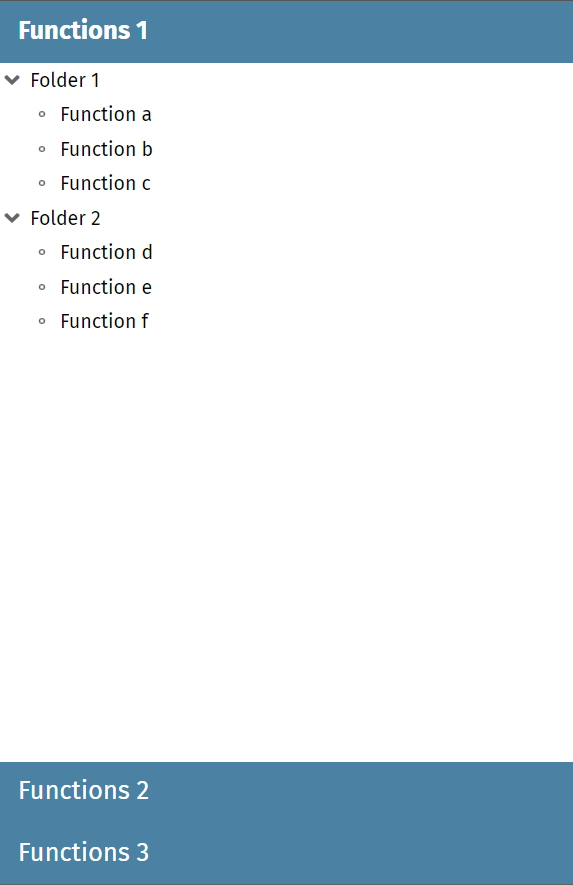
You will see the following in the preview area of the Layout Editor:
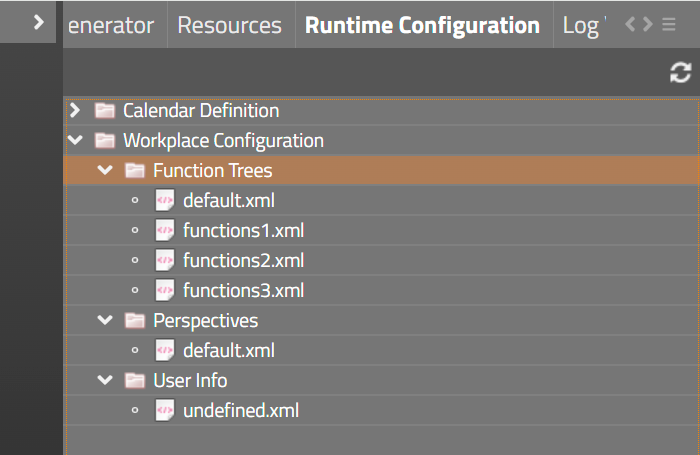
The configuration is stored in the files of the “Runtime Cofiguration” below “Function trees”:
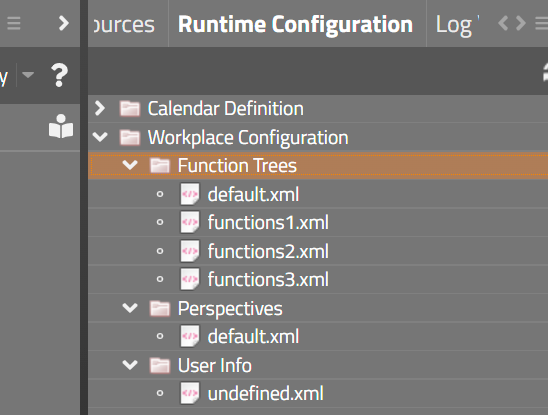
The “default.xml” is the configuration that is loaded. The “default.xml” is splitting up its content into 3 subfiles:
<?xml version="1.0" encoding="UTF-8" standalone="yes"?>
<workplaceFunctionTreeInfoNode>
<text>Default Functions</text>
<subNodes>
<text> Functions 1</text>
<embeddedTreeName>functions1</embeddedTreeName>
</subNodes>
<subNodes>
<text> Functions 2</text>
<embeddedTreeName>functions2</embeddedTreeName>
</subNodes>
<subNodes>
<text> Functions 3</text>
<embeddedTreeName>functions3</embeddedTreeName>
</subNodes>
</workplaceFunctionTreeInfoNode>
Each of the subfiles is now containing the folders and functions that form the tree. Example: “functions1.xml”:
<?xml version="1.0" encoding="UTF-8" standalone="yes"?>
<workplaceFunctionTreeInfoNode>
<subNodes>
<text>Folder 1</text>
<folderOpened>true</folderOpened>
<subNodes>
<text>Function a</text>
<workpageStartInfo>
<id>/page1.jsp</id>
<jspPage>/page1.jsp</jspPage>
</workpageStartInfo>
</subNodes>
<subNodes>
<text>Function b</text>
<workpageStartInfo>
<id>/page2.jsp</id>
<jspPage>/page2.jsp</jspPage>
</workpageStartInfo>
</subNodes>
<subNodes>
<text>Function c</text>
<workpageStartInfo>
<id>/page3.jsp</id>
<jspPage>/page3.jsp</jspPage>
</workpageStartInfo>
</subNodes>
</subNodes>
<subNodes>
<text>Folder 2</text>
<folderOpened>true</folderOpened>
<subNodes>
<text>Function d</text>
<workpageStartInfo>
<id>/page4.jsp</id>
<jspPage>/page4.jsp</jspPage>
</workpageStartInfo>
</subNodes>
<subNodes>
<text>Function e</text>
<workpageStartInfo>
<id>/page5.jsp</id>
<jspPage>/page5.jsp</jspPage>
</workpageStartInfo>
</subNodes>
<subNodes>
<text>Function f</text>
<workpageStartInfo>
<id>/page6.jsp</id>
<jspPage>/page6.jsp</jspPage>
</workpageStartInfo>
</subNodes>
</subNodes>
</workplaceFunctionTreeInfoNode>
You may now either edit the content of the functions tree - either by using the editor of the “Runtime configuration” - or within your development environment.
Of course it now makes sense to arrange the function tree on the left side of the newly created workplace. So open the configuration of the workplace in:
“Runtime configuration”
> Workplace Configuration
> Perspectives
. default.xml
Replace the existing “startView” item or add a new one, that now tells the workplace to open the function tree “on the left”:
<?xml version="1.0" encoding="UTF-8" standalone="yes"?>
<workplaceTileInfo>
<text>Demo Workplace</text>
<split>
<orientation>horizontal</orientation>
<dividerLocation>250</dividerLocation>
<subContainer1>
<id>FUNCTIONS</id>
<withSelector>true</withSelector>
<frozen>false</frozen>
</subContainer1>
<subContainer2>
<withSelector>true</withSelector>
<frozen>false</frozen>
</subContainer2>
</split>
<startViews>
<pageBeanName>WorkplaceFunctionsUI</pageBeanName>
<text>Functions</text>
<id>WorkplaceFunctionsUI</id>
<startSubWorkpageContainerId>FUNCTIONS</startSubWorkpageContainerId>
<openMultipleInstances>false</openMultipleInstances>
<decorated>false</decorated>
<popupSupported>false</popupSupported>
<closeSupported>false</closeSupported>
<openAsPopupByDefault>false</openAsPopupByDefault>
<excludeFromSavePerspective>false</excludeFromSavePerspective>
<paramMap/>
</startViews>
<frozen>false</frozen>
</workplaceTileInfo>
Now deploy. The result is:

Setting up a basic workplace is quite simple.
Create and configure the workplace itself.
If required: create and configure a function tree
Add the function tree to the started pages of your workpage.
You can start using the workplace without any coding – just by XML configuration. And you can later on – because the XML is a 1:1 JAXB-representation of bean objects – switch over to a more complex configuration which is dynamically assembled by calling API functions - e.g. for creating the function tree nodes according to a user/role definition.
Of course these are only the very basic steps, that you have seen. There is much more involved, and there is some API to access the workplace functions in more detail. Example:
You want to get notified when a user closes a work page containing your page.
You want to open or close workpages on your own
Please check the Developer's Guide for detailed information.
The documentation of the XML attributes that you configured is available as JavaDoc for the corresponding bean classes – remember: the XML is just a JAX-B representation. The corresponding classes are:
WorkplaceTileInfo – for the workplace perspective configuration
WorkplaceFunctionTreeInfoNode – for the function tree configuration