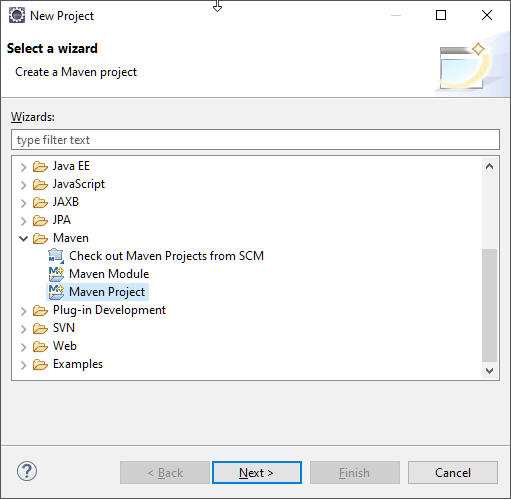
Open “File > New > Project...”. select “Maven”:
Select the SpringBoot project:
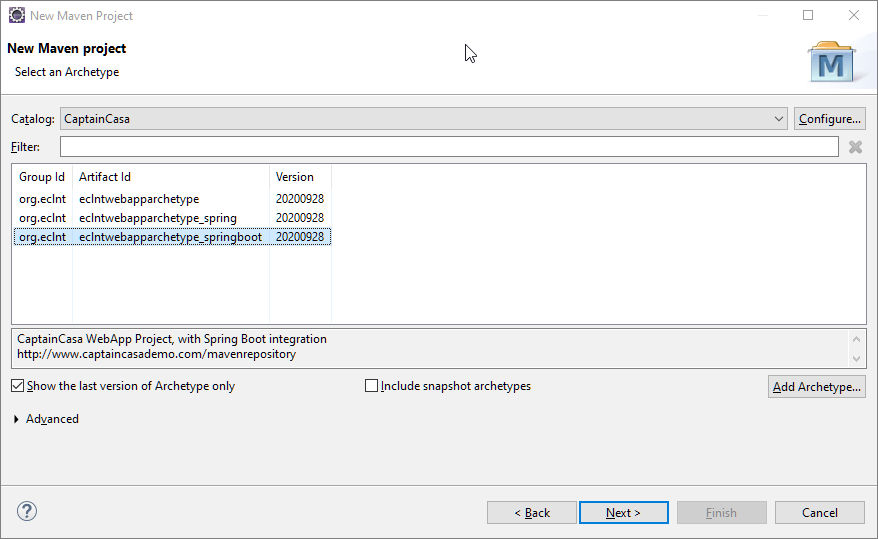
(If you have not done so yet: the catalog of CaptainCasa project is available at http://captaincasa.com/mavenrepository/archetypecatalog.xml – you can easily add to the existing ones by using the “Configure...”-button.
Define artifact-id and group-id:

Right click project, select “Run as > Maven build”, define “clean package” as goal.
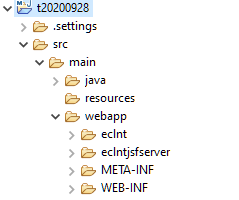
As result the static web content of CaptainCasa will be part of your src/main/webapp directory:
In the CaptainCasa tools select:
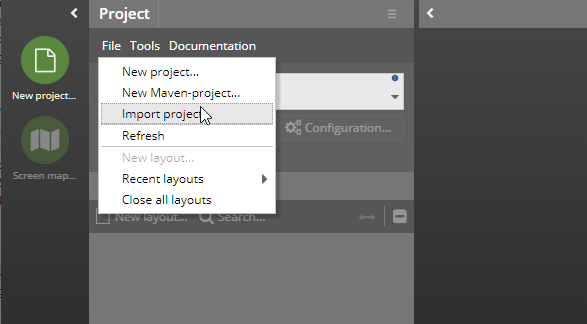
And select the project directory of your project. You then will see the web-content part (in the project: src/main/webapp) in the project tree on the left.
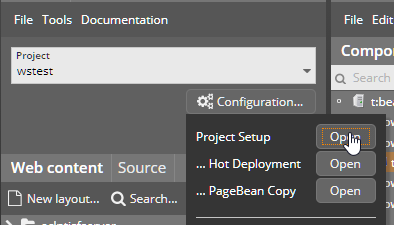
The CaptainCasa project settings are stored in the file “.ccproject” within your project. You can directly access the setting through the CaptainCasa toolset by pressing the “Configuration...” button below the project selection.
In the project settings there is a copy instruction...
<deploycopyinfo
fromdir="${project}/target/${projectname}-0.0.1-SNAPSHOT"
todir="${projectdeploy}">
</deploycopyinfo>
...that tells the toolset to copy the content of the target-subdirectory in which the Maven packaging is executed to the deploy directory. Dependent on the development environment that you use, the directory “...-0.0.1-SNAPSHOT” might not be correct. If using IDEA, the default directory is “...-1.0-SNAPSHOT”. Please check the directory in which the packaging of the Maven build is done and adapt the project configuration accordingly.
You now can develop just “as usual”.
By running the project with Maven goal “spring-boot:run” the project is directly executed in the Spring Boot environment.